


This is the 3rd tutorial in the series on Sitecore.React. If you have not read the previous 2 yet, read this Sitecore.React - Getting Started - 1. Webpack and this Sitecore.React - Getting Started - 2. Creating Components first.
All the code for this tutorial can be found here: https://github.com/GuitarRich/sitecore.react.tutorial/tree/getting-started-3.
In this tutorial we will be taking the fairly static site that we built in the previous 2 tutorials and make them dynamic - this is an important step in the process of building a react site that can be rendered by Sitecore. By the end of this tutorial we will be ready to start work on the Sitecore parts and integrate the React components as Sitecore renderings.
Defining the data structure
The 2 renderings we created in the previous tutorial were the PageTitle and the PageBody components, in Sitecore these will both render fields on a template called PageContent. So lets use a JSON object to define the structure of that data template. Normally this would be something the backend and front end developers would agree upon before building the components.
Depending on your style of architecture, this data structure can either match exactly with the data template (For simplicity, that is what I am doing here), or a more common/better approach would be to create data structures that will match your view model. This is a better practice so that you are not passing in un-needed properties through to the view (react component).
Here we are defining some standard fields that might be used on a PageContent template:
PageContent data template:
1 | { |
Now we have a defined structure for the data template, lets create a data layer for our React front end website. This layer will only be used for the frond end site and will be replaced by Sitecore for the main implementation. Because of this, the data layer should ONLY be referenced in our Page components and never in the actual components.
Remember that the Page components (located in src/app/pages) are effectively a JavaScript representation of the Sitecore presentation layer, a PageComponent will bring together the structure of the components (Presentation details) with the data (Content) and present it to the user.
For the first step, lets create a data folder under src/app to store our data in. Inside that create a folder called json and a file called data.js. It should look like this:

The data.js file will contain a static class that will be used to mimic how Sitecore.React passes the data through to the props of the React components. We will add some static methods in there that return a json object containing the data structure with some dummy data in.
First lets create the dummy PageContent data for the home page. In the src/app/data/json folder, create a file called homePageContent.json and add the following content:
1 | { |
Creating the Data Access Layer
Now we need to create the data access layer and setup the home page component to pass the data into the PageTitle and PageBody react components. First lets look at data.js. Add the following code:
1 | export default class Data { |
Here we are just creating a generic function that can be used to load in some json from a file. Because the app runs from src/app, we are making sure the url is correct when running under the webpack server, then using fetch to get the data. The response is converted to a json object and passed through to the callback.
Next we need to call that from the Home.jsx page. First here is the updated code:
1 | import React from "react"; |
What has changed? First we need to import the Data class:
1 | import Data from "../data/data"; |
First we need to setup the components state object to have a propery for the data. To do this we have created a constructor for the Home class. We have to make sure that we still run the base constructor and pass props into there. Then we setup the initial state object. Here we have just added a propery called pageContent.
Now we can access the static Data.getData function we created earlier and pass in the name of the json file we want to get. In the componentDidMount method, we call the Data.getData method and which gets the data and then we set the pageContent property on the components state object to hold the returned json object.
componentDidMount is an event on a react component that is invoked immediately after a component is mounted, this is a standard place to load data in a react component.
1 | Data.getData("pageContent", (data) => { |
Finally, you will see that we have passed in the this.state.pageContent object as a prop of the PageTitle and PageBody components called data. This is important as the Sitecore.React code will also pass in the view model to the component as a prop called data:
1 | <PageTitle data={this.state.pageContent} /> |
Setting Up The Components
Now we need to setup our components to use those props. When we left them last time they just contained static html in the render method. So lets update the components to render the content from the props instead of the static html. Here is the new code for the components:
PageTitle
1 | import React from "react"; |
PageBody
1 | import React from "react"; |
Danger, Danger!
One of the things you may have noticed is the dangerouslySetInnerHTML part when rendering the fields. Why are we doing it that way instead of just using the property? The reason is that React, like Razor script, html encodes all content rendered to the page from a prop. This prevents things like injection attacks etc… But for some sitecore fields and also for Experience Editor support, we need those fields rendered without being html encoded. This is what dangerouslySetInnerHTML does, it renders the contents of the field as they are. Its the React equivalent of `@Html.Raw()`. So if you want to render rich text fields and have Experience Editor support, it is important to let your front end developers know that they need to do that.
Final Setup for Sitecore
We are finally in a place now where we can start to integrate this with Sitecore. But before we do, we have a couple of setup things to do with our JavaScript files. Remember that we setup webpack to generate 3 files: fed.js, server.js and client.js. Up to now we have only worked with fed.js - now we need to setup server.js and client.js.
First what is the difference? Why do we need 2 files? Well server.js is going to be used on… yup, the server. It will be used by ReactJS.Net to render the react components server side. Because of this, it must not contain any code that would manipulate DOM elements that runs on page initialization (Things like button click handlers, responding to events etc… are ok, just nothing on initialization). This is what the client.js file is for. Any DOM manipulation that needs to happen on page initialization should go here.
Before we add code to those files, lets create a helper script so we don’t have to do things multiple times. In the folder src/app/views create a file called index.js. This file is going to export all our React components.
1 | module.exports = { |
Now we can use that in both server.js and client.js. Here is the code for server.js:
1 | // All JavaScript in here will be loaded server-side |
We are just adding all the components exported by ./views/index.js into a global variable called Components. This will be used by ReactJS.Net later.
And client.js:
1 | global.jQuery = require('jquery'); |
Notice that in here we have added in things like bootstrap and jquery - we would also import any extra classes that are needed on the client only here.
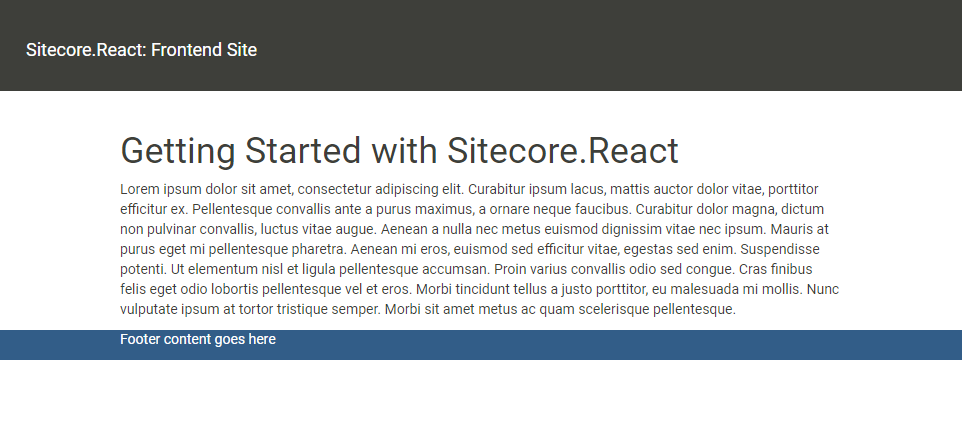
Finally lets run our dev server and see how it looks. Go to your console and run npm run dev. Your site should now look like this:
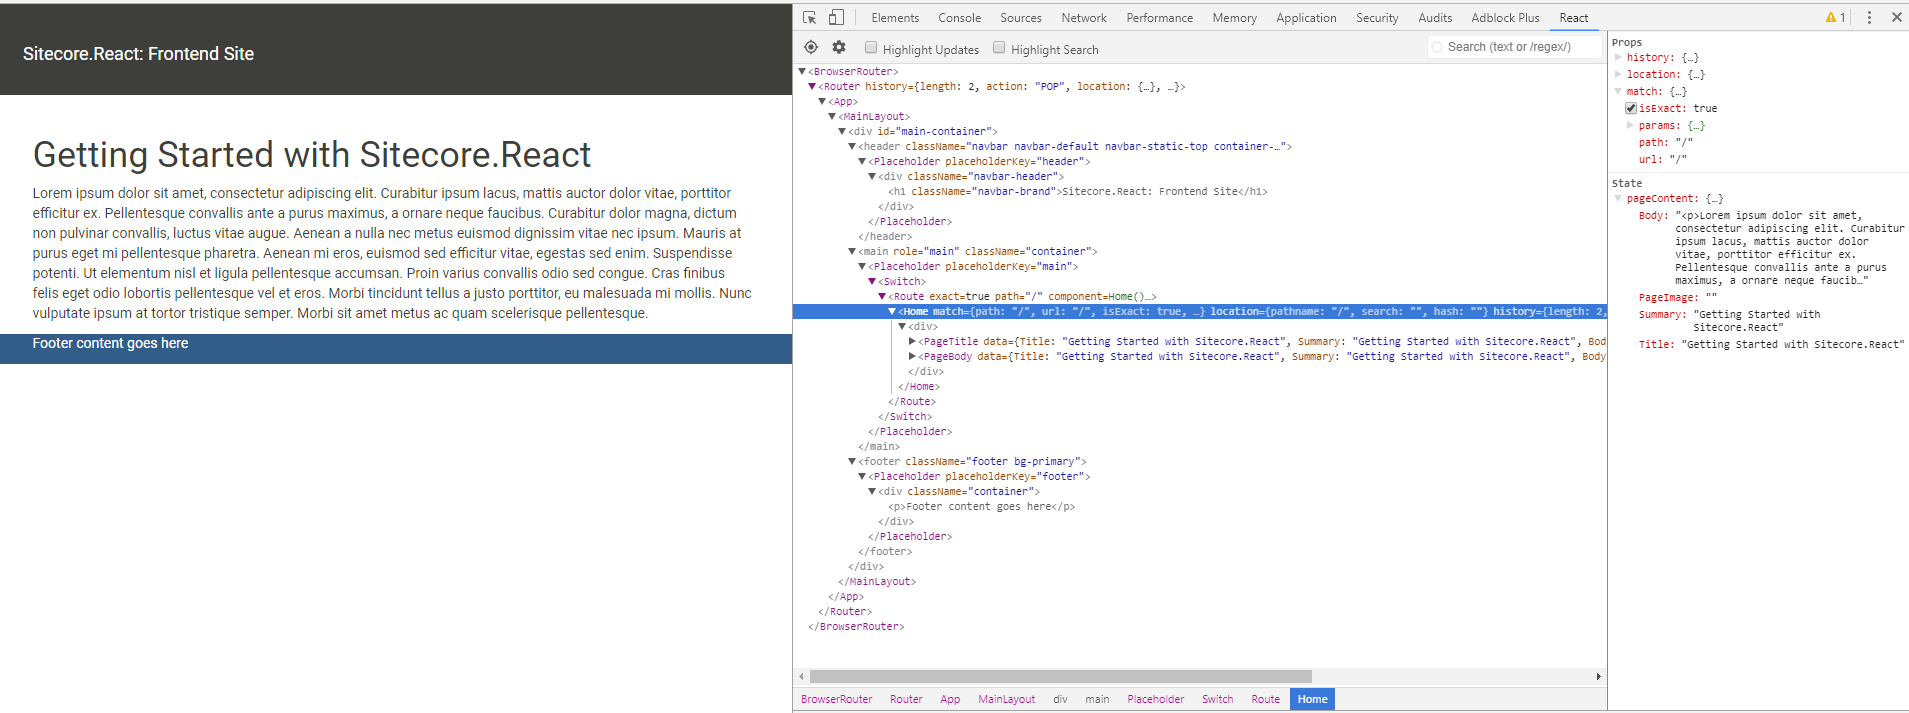
If you install the React DevTools Chrome extension you can open the React tab in Chromes developer tools and see the components listed there:
In the next tutorial, we will finally get into some Sitecore code, build the renderings and look at how we integrate the front end react site.
This is the third article in a series of tutorials on Sitecore.React:
- Sitecore.React - Getting Started - 1. Webpack
- Sitecore.React - Getting Started - 2. Creating Components
- Sitecore.React - Getting Started - 3. Data
If you have any questions - feel free to hit me up on Sitecore Slack - my user is @GuitarRich!